Latest posts
-

Why Am I Joe Iconis – Musical Writer And performer
Ever wondered how a kid who was once afraid to connect found his voice on the stages of New York City? In this episode, Greg chats with Joe Iconis, renowned for weaving personal truths into his musicals. Discover how Joe's journey to becoming a celebrated writer and performer unfolded through sheer honesty and a love…
-

Hashicorp Vault Enterprise with Ansible Automation Platform 2.6
Believe it or not, I covered connecting HashiCorp Vault to Ansible Tower about five years ago. Things have changed since then; it’s Ansible Automation Platform 2.6 now, not Tower, but the core idea holds up just fine moving forward: don’t store secrets in AAP at all. Store them in Vault, and let AAP reach out…
-

Why Am I Marten Carlson – Horror Fanatic, Mattress Tester
Have you ever wondered what path leads someone to become a professional mattress reviewer? Meet Martin Carlson, a film fanatic who journeyed from a childhood love of Abbott and Costello to an unlikely career in sleep products. Join us as we dive into the world of niche expertise, the delicate dance of balancing passions with…
-

Fantasy Restaurant Rusty Surrette-Alvarez
Welcome to the Fantasy Restaurant. What culinary adventure includes both pecan pie and gumbo secrets? Dive into this week's episode with Rusty Surrette-Alvarez as he dishes on the art of creating a meal that's uniquely Southern. Don't forget to like, comment, and subscribe for more conversations that chase the story behind the person. Please show…
-

Building a Custom Execution Environment with Claude Code and a Private Automation Hub
I’ve been building Execution Environments (EEs) for Ansible Automation Platform for a while now, but this time I wanted to see how far I could get by handing the whole thing to Claude Code and just reacting to what came back. I’m using the Ansible Automation Platform version 2.6 for this demo, and I’m putting…
-

Connecting AAP2.6 Private Automation Hub To Certified And Verified Content
If you’re standing up a private Automation Hub on Ansible Automation Platform 2.6, one of the first things you’ll want is to pull down Red Hat Certified and Validated collections from the hosted service on console.redhat.com. On paper it’s straightforward. In practice, there are a handful of gotchas that will hand you a cryptic “Failed”…
-
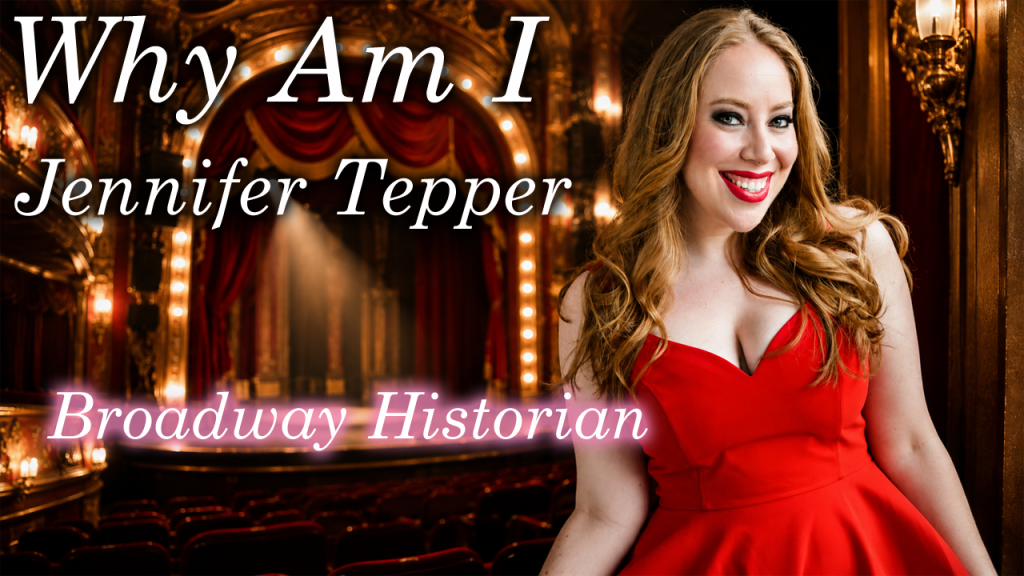
Why Am I Jennifer Ashley Tepper – Broadway Historian
How does a daydreaming theater kid from Boca Raton, Florida end up making her mark on Broadway? In this episode, Greg sits down with Jennifer Ashley Tepper, a self-proclaimed theater nerd and accomplished historian, who has turned her childhood obsession into a Broadway career. Join us as we navigate through Jennifer’s journey, from theater camp…