

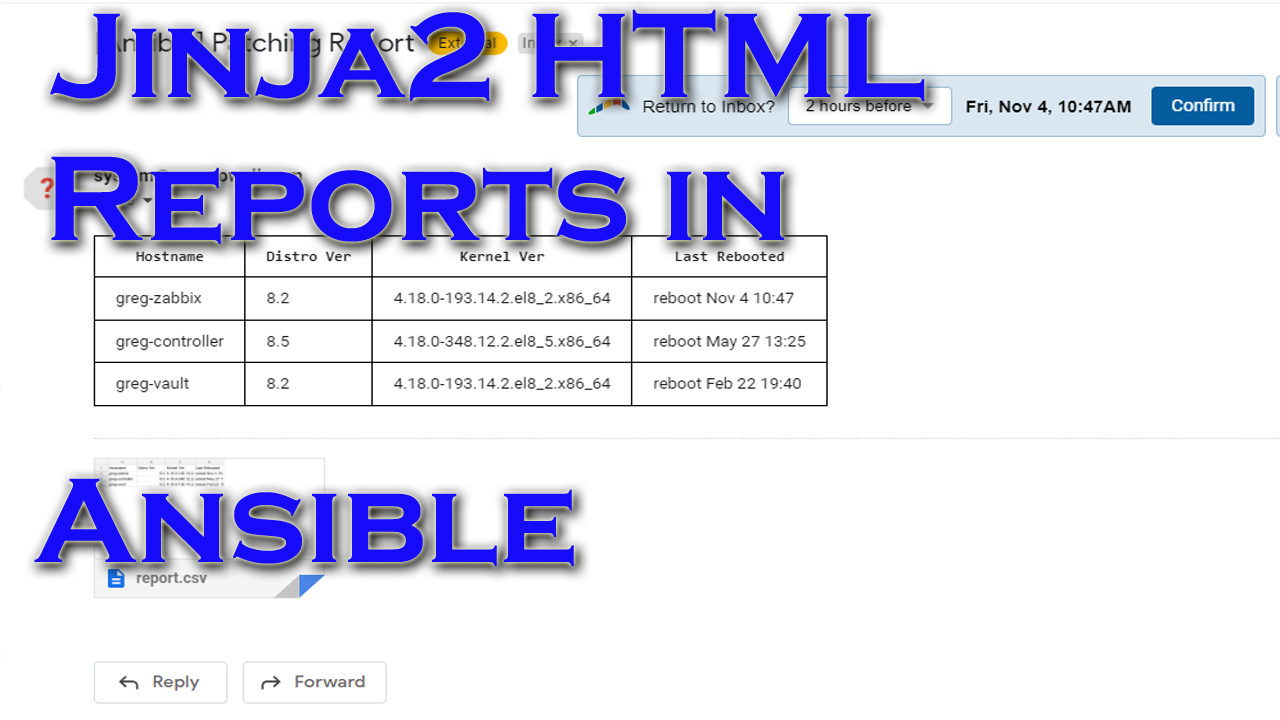
Jinja2 HTML Templates For Reporting With Ansible Automation Platform The Easy Way
One of the really awesome uses for ansible is to perform an action and be able to develop a pretty report…for you or, let’s face it…management likes pretty graphs and spreadsheets.
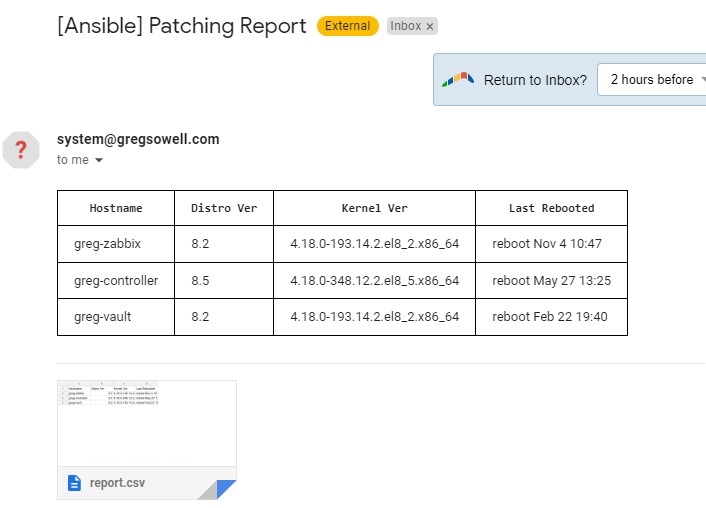
I worked in tandem with the talented tiger Nick Arellano at a recent hackaton, and he cleaned up a tidy little jinja2 template to create pretty reports for both websites as well as emails. Let’s be honest, he did most of the work, so thank him 😉 This piece of automation will create a CSV file and then put it into a table for easy insertion into a web page or (as shown below) use in an email.
Video Demo
Playbook And Template
First, all of the materials can be found HERE IN THIS GIT REPOSITORY.
The playbook, as it stands at the time of this writing, is below:
1 2 3 4 5 6 7 8 9 10 11 12 13 14 15 16 17 18 19 20 21 22 23 24 25 26 27 28 29 30 31 32 33 34 35 36 37 38 39 40 41 42 43 44 45 46 47 48 49 50 51 52 53 54 55 56 57 58 59 60 61 62 | ---
- name: Generate an HTML report from jinja template
hosts: all
gather_facts: true
vars:
#email settings
email_subject: Patching Report
email_host: 10.1.5.25
email_from: [email protected]
email_to: [email protected]
#random settings
csv_path: /tmp
csv_filename: report.csv
headers: Hostname,Distro Ver,Kernel Ver,Last Rebooted
tasks:
- name: Gather last reboot
ansible.builtin.shell: last reboot | grep -m1 "" | awk '{ print $1, $6, $7, $8 }'
register: rebooted
- name: Save CSV headers
ansible.builtin.lineinfile:
dest: "{{ csv_path }}/{{ csv_filename }}"
line: "{{ headers }}"
create: true
state: present
delegate_to: localhost
run_once: true
- name: Build out CSV file
ansible.builtin.lineinfile:
dest: "{{ csv_path }}/{{ csv_filename }}"
line: "{{ inventory_hostname }},{{ ansible_distribution_version }},{{ ansible_kernel }},{{ rebooted.stdout }}"
create: true
state: present
delegate_to: localhost
- name: Read in CSV to variable
community.general.read_csv:
path: "{{ csv_path }}/{{ csv_filename }}"
register: csv_file
delegate_to: localhost
run_once: true
# - name: debug csv_file
# debug:
# var: csv_file
# run_once: true
- name: Send Email
community.general.mail:
host: "{{ email_host }}"
from: "{{ email_from }}"
port: 25
to: "{{ email_to }}"
subject: "[Ansible] {{ email_subject }}"
body: "{{ lookup('template', 'report.html.j2') }}"
attach: "{{ csv_path }}/{{ csv_filename }}"
subtype: html
delegate_to: localhost
run_once: true |
Let me break down some of the pieces of the playbook.
1 2 3 4 5 6 7 8 9 10 11 12 13 14 15 | ---
- name: Generate an HTML report from jinja template
hosts: all
gather_facts: true
vars:
#email settings
email_subject: Patching Report
email_host: 10.1.5.25
email_from: [email protected]
email_to: [email protected]
#random settings
csv_path: /tmp
csv_filename: report.csv
headers: Hostname,Distro Ver,Kernel Ver,Last Rebooted |
The vars section isn’t very interesting save for the “headers” variable. This is the variable that will not only create the CSV header, but also used in the Jinja2 template for building out the HTML.
1 2 3 4 5 6 7 8 9 10 11 12 13 14 15 16 17 18 19 20 21 | tasks:
- name: Gather last reboot
ansible.builtin.shell: last reboot | grep -m1 "" | awk '{ print $1, $6, $7, $8 }'
register: rebooted
- name: Save CSV headers
ansible.builtin.lineinfile:
dest: "{{ csv_path }}/{{ csv_filename }}"
line: "{{ headers }}"
create: true
state: present
delegate_to: localhost
run_once: true
- name: Build out CSV file
ansible.builtin.lineinfile:
dest: "{{ csv_path }}/{{ csv_filename }}"
line: "{{ inventory_hostname }},{{ ansible_distribution_version }},{{ ansible_kernel }},{{ rebooted.stdout }}"
create: true
state: present
delegate_to: localhost |
This section starts by finding out when this host was last rebooted. You’ll notice the shell command does some grepping and awking. I’m a big fan of formatting as much of the data before it’s brought into Ansible as possible.
After that the CSV headers are inserted into the CSV, then the remainder of the CSV is built out for each host.
1 2 3 4 5 6 7 8 9 10 11 12 13 14 15 16 17 18 19 20 21 22 23 24 | - name: Read in CSV to variable
community.general.read_csv:
path: "{{ csv_path }}/{{ csv_filename }}"
register: csv_file
delegate_to: localhost
run_once: true
# - name: debug csv_file
# debug:
# var: csv_file
# run_once: true
- name: Send Email
community.general.mail:
host: "{{ email_host }}"
from: "{{ email_from }}"
port: 25
to: "{{ email_to }}"
subject: "[Ansible] {{ email_subject }}"
body: "{{ lookup('template', 'report.html.j2') }}"
attach: "{{ csv_path }}/{{ csv_filename }}"
subtype: html
delegate_to: localhost
run_once: true |
Next is where the cool stuff happens. I use the read_csv module to read in the newly created CSV file and register it to a variable. This means complicated variables can be created quite simply.
Last is the email generation. In here I not only attach the newly created CSV, but I also use the template lookup plugin to call the Jinja2 template in the “body” section.
The way this playbook is written, virtually all of it is written flexibly in such a way that the only changes to generate a completely different report would be to change the CSV build tasks.
Now for the Jinja2 template(report.html.j2):
1 2 3 4 5 6 7 8 9 10 11 12 13 14 | <table style="border: 1px solid black; border-collapse: collapse;">
<tr>
{% for header in headers.split(",") %}
<th style="border: 1px solid black; padding: 8px 16px;">{{ header }}</th>
{% endfor %}
</tr>
{% for host in csv_file.list %}
<tr>
{% for header in headers.split(",") %}
<td style="border: 1px solid black; padding: 8px 16px;">{{ host[header] }}</td>
{% endfor %}
</tr>
{% endfor %}
</table> |
This is a pretty small template, but it is mighty!
I’m not going to cover HTML tables; W3schools has a nice little doc on it here.
Let me try and break it down into smaller pieces so that it makes a little more sense.
1 2 3 | {% for header in headers.split(",") %}
<th style="border: 1px solid black; padding: 8px 16px;">{{ header }}</th>
{% endfor %} |
The very first table row is going to setup the column headers. If you recall the “headers” variable was created to setup a method for initial creation, but ultimately so we could use it here in this first jinja loop. Whenever you see {% %} this is breaking into jinja saying that “there’s something to evaluate here.” In the for section I’m setting up a for loop. A for loop will iterate over a list of things one by one, until I’ve covered all of the contents. Here I’m taking the headers variable and “split”ing it into a list of values. This list is saved into a new variable named “header”. I then move down and create a row entry for each {{ header }} variable that exists. Now there is a lot more information here than just the result of the variable. This little bit of Nick Magic® does formatting on the cell itself so that it will have a nice border along with padding around the value(it makes it look pretty and easily readable). The formatting has to be done inline like this because different email clients interpret HTML differently and this seems to have the most support.
Next I fill out the actual data:
1 2 3 4 5 6 7 | {% for host in csv_file.list %}
<tr>
{% for header in headers.split(",") %}
<td style="border: 1px solid black; padding: 8px 16px;">{{ host[header] }}</td>
{% endfor %}
</tr>
{% endfor %} |
Here I’m doing nested loops(super easy to do inside of Jinja). The outter loop is built off of the csv_file.list variable that was created by importing my CSV file. This populates the for variable of host.
On the inner loop I’m taking the headers section and splitting it in the exact same way…in fact it looks almost identical to the above safe for one change. The table data variable is different “{{ host[header] }}”. Notice that it is take the first host and plucking each header’s information from it and applying it to the cell one by one. So if the host entries are “Hostname,Distro Ver,Kernel Ver,Last Rebooted”, then it will loop through those one at a time and apply those entries to the cell.
Sample Output
Conclusion
I hope you can see how easy it would be to adapt this simple reporting technique to fit almost any scenario. Just a few quick tweaks and it covers routers, switches, security devices, AWS resources…whatever you can imagine.
If you would change it to adapt to your environment, what would that look like?
Good luck and happy reporting!